|
|
The Basics of Natural Dyeing ~
|

|
|
|
Method:
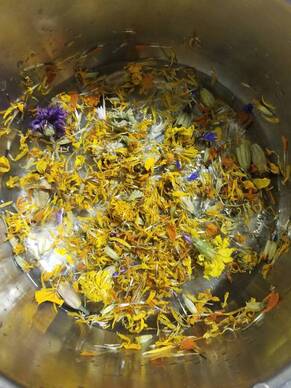
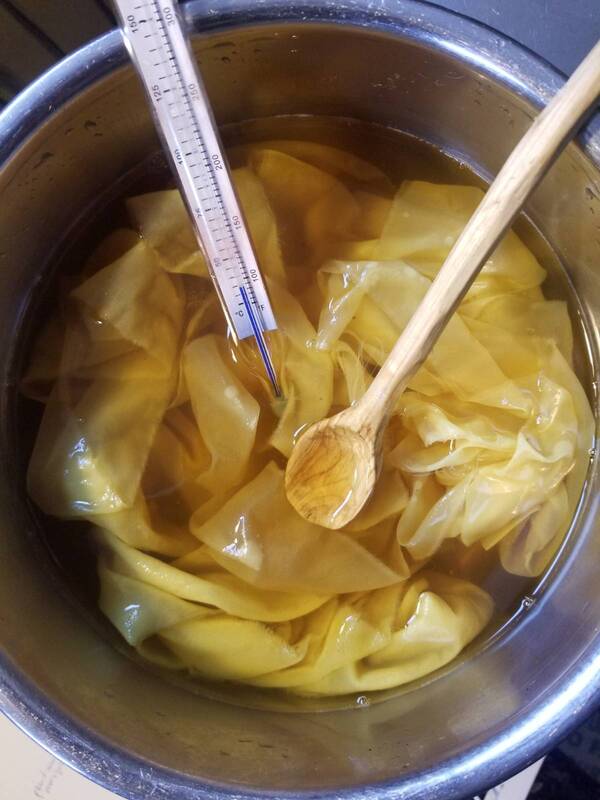
Really, it’s as simple as making soup! But it does take some time.
Really, it’s as simple as making soup! But it does take some time.
|
|
|
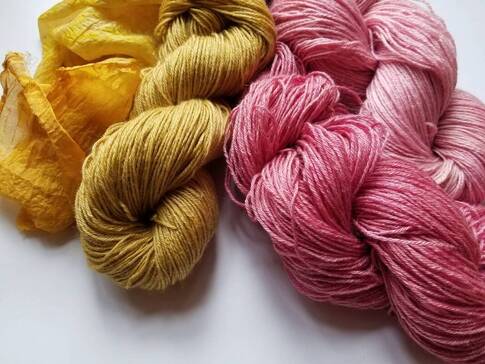
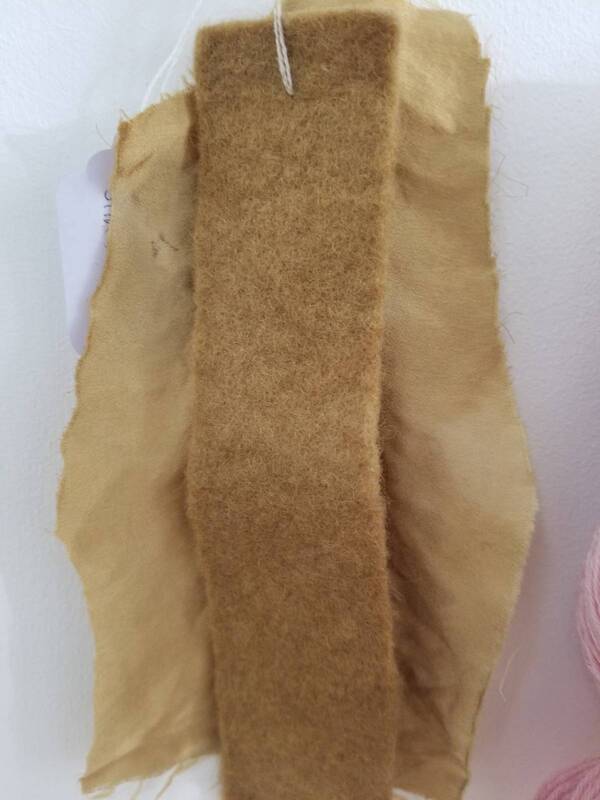
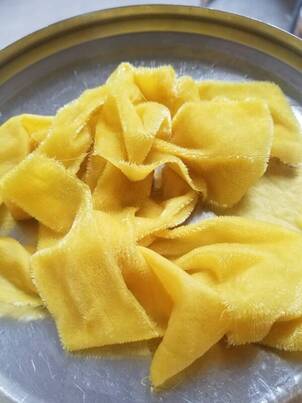
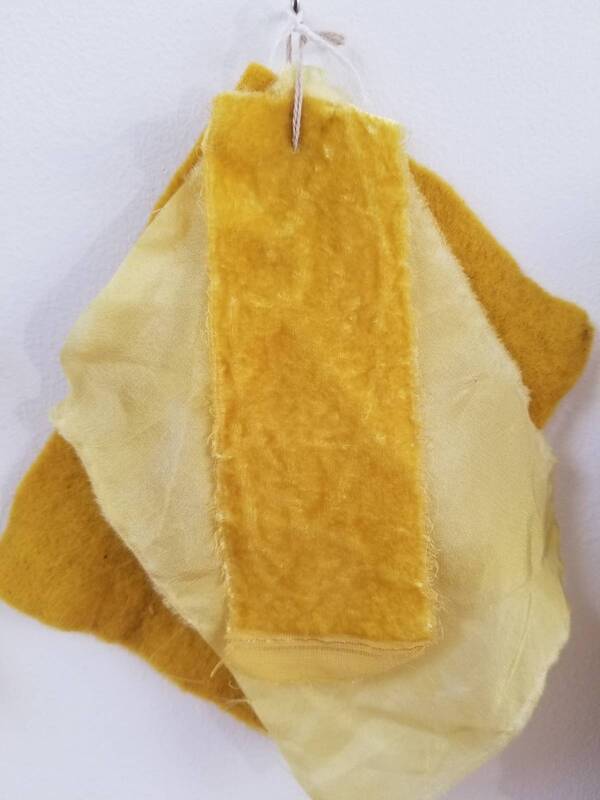
From left to right, or first to last: Alder Cones on silk and wool, Marigolds on silk velvet, Marigolds on silk and wool. All dyed using this method.
There are many plants you can use for this basic technique, and I find it really fun to bring small amounts home after a walk to test it out. I keep small pieces of mordanted wool yarn or felt, or silk off cuts to throw in the pot.
What is mordanting you ask?
Mordanting is an important step to prepping your textile so that the colour will 'stick'. We soak the textile in diluted mineral salts. This creates a chemical bond between the textile and the natural pigments - a metallic 'bridge which attracts them together. Although not all dye plants need it, they will always give a deeper and richer colour with it, and be longer lasting.
There are a few steps to preparing your fabric if you want to Be a Pro and make sure you have success. 😉
Choosing and Preparing your Textiles:
Do you always have to mordant?
Well, there are some dye plants which adhere to natural fibres without being mordanted and which can be found easily, such as:
Turmeric
Onion skins
Avocado stones
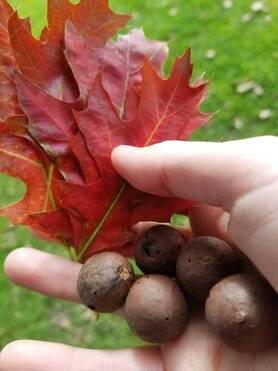
Alder cones
Walnut husks
Buddleja flowers
Mordanting Hack for Cotton!
There is a quick and accessible method for prepparing cotton using a surprising ingredient - Soya milk! Soya is not a mordant and it will allow the dye to rub off over time. This is because it does not form a chemical bond but instead creates a protein layer on the surface of the textile that is more attractive to the natural pigments. (You notice above I recommend wool and silk, both are protein fibers). However you will still give satisfactory colour for a time.
Simply soak the textiles overnight/8x hours, in a mixture of 5 parts water to 1 part Soya milk. Then rinse and dry. Repeat for longer lasting effects.
This hack is suitable for textiles that will not be washed or worn frequently, unless you are willing to re-dye again. Saying that, I have dyed tshirts with this method, and they are still going strong, 4x years later!! What colour will your favourite t shirt be next? I have mine dyed in a beautiful avocado stone dye...It is subtly changing colour over time and I Love that!
If you’d like to learn the magic alchemy of natural dyes, including the mordanting process, the many dye plants and the colours of the rainbow, where to find them and how to grow them, I teach in-person workshops throughout the year (announced on my website and newsletter) and an online offering is currently in the making. I give mentorship to creative practitioners, and am developing a consultancy package for community groups wanting to grow their own natural dye garden. Do drop a line!

Safety & Tips:
Dedicate a pot to natural dyeing that is NOT used for food.
Do a quick google search to identify your plant and learn all about it! It is really important to make sure it is not toxic. Not many things are, but it is always good to check. For example, I would NOT recommend Foxglove. Historically this has been used, but it is not at all good for your heart to inhale the steam when dyeing.
Besides from a ‘tea test’, solar dyeing can be a handy way of testing a colour from a plant - check out my blog post here: www.ashleighellis.ie/solar-dyeing-simple-method

|
Ashleigh EllisAshleigh Ellis is an eco social artist who has a natural dye practice. She teaches skills and know-how, and grows natural dye plants with communities, benefiting people, place, and pollinators. |